fbpx

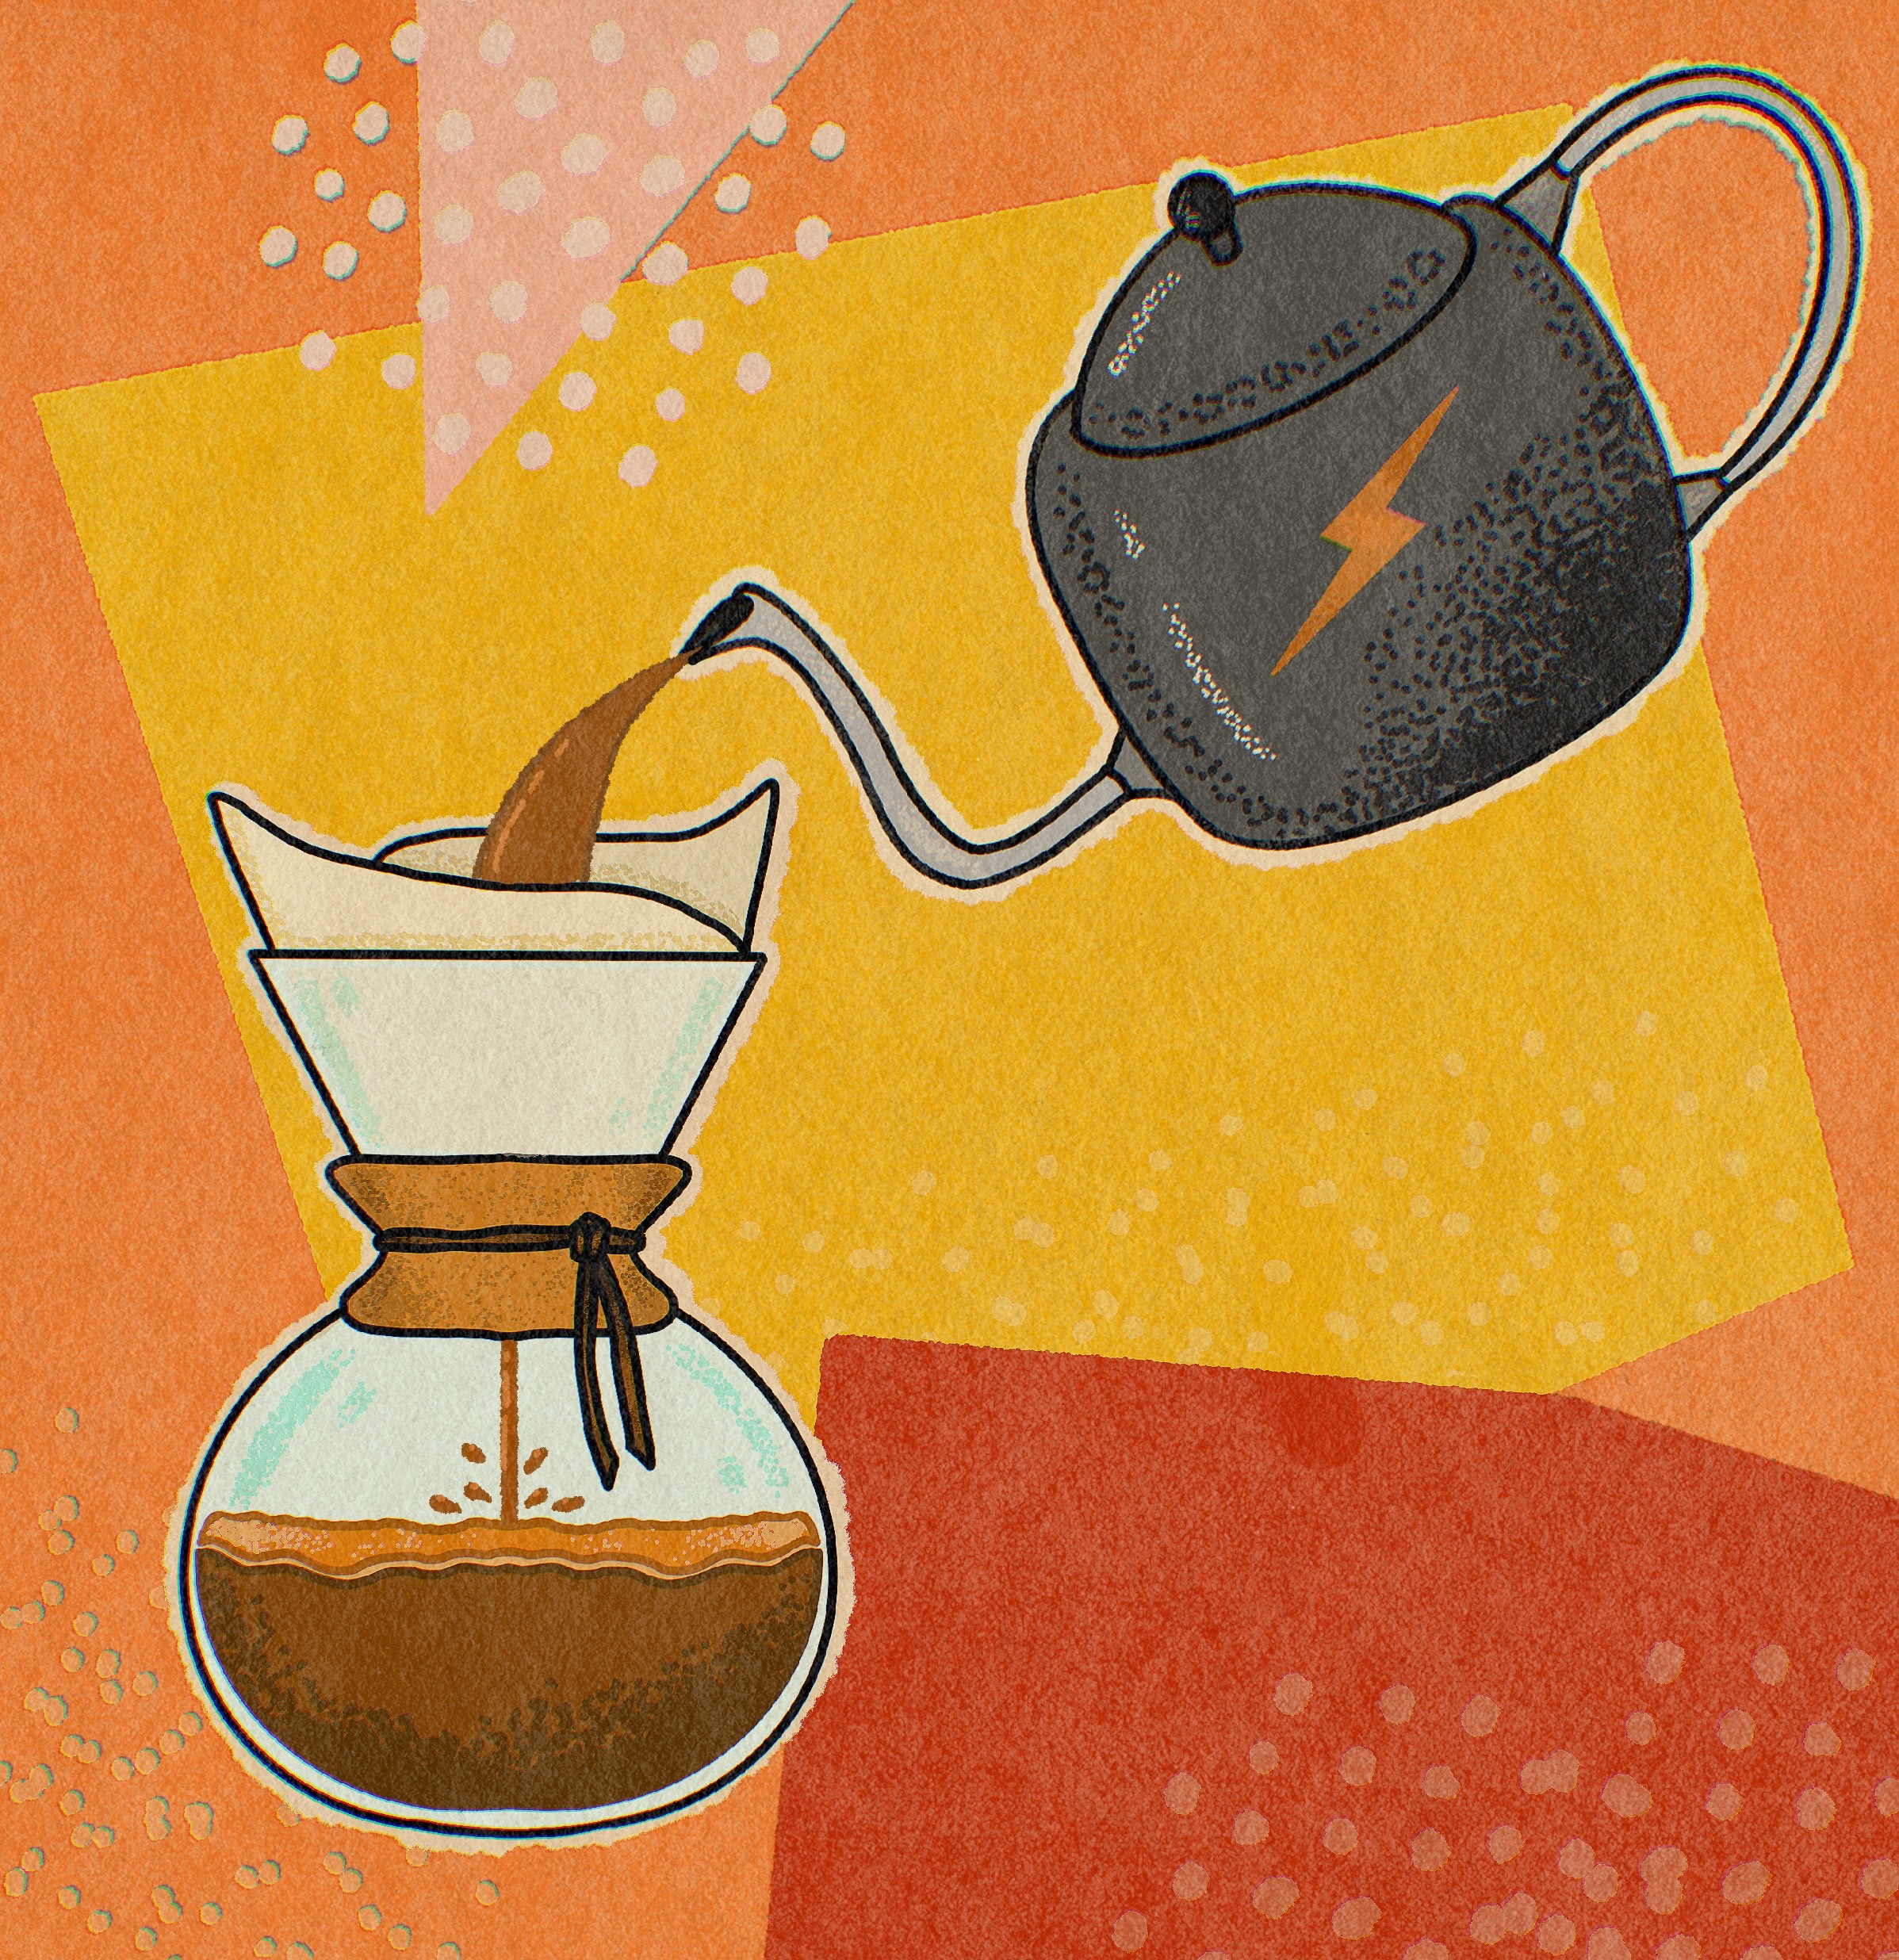
POUR OVER BREW GUIDE

Pour over brewing is an easy way to get the most flavor out of your favorite coffee. There are plenty of options to choose from when looking at equipment but we, of course, recommend the Yama Glass Cone Dripper, available on our web store. If you are accustomed to coffee from a drip machine, this method will produce a similar product but with a more developed and complex flavor.

  • What you'll need:

    • Coffee
    • Yama Glass Cone Dripper
    • #2 Filters
    • Adjustable Coffee Grinder
    • Water Kettle
    • Filtered Water
    • Scale
    • Timer

  • Brewing directions:

    1. Bring to a boil more water than you’ll need for the actual brewing (600 – 700ml or 20 – 23 fl oz)
    2. Weigh out 21-25 grams of ground coffee (approx. 2 – 3 tbsp). Coffee should be ground medium-fine (about the coarseness of sea salt)
    3. While water is heating. Place filter inside clean dripper.
    4. Pour in half of your hot water, saturating the filter and warming the porcelain dripper. The water will also preheat your carafe or cup. Let your remaining water sit in the kettle until is a good bit below boiling temperature (around 200 degrees Fahrenheit). Empty your now warm cup or carafe and prepare yourself for brewing.
    5. Bring the dry ground coffee to your nose, draw in a deep breath through your nostrils, enjoy the aroma.
    6. Pour your ground coffee into the filter. Make sure your coffee lays flat, allowing for a more even pour.
    7. Starting at the center of the grounds, gently pour just enough water to saturate your ground coffee. You’ll notice that adding this water causes the coffee to expand. This is called the “bloom.” Allow the grounds to expand or “bloom” for 30 – 45 seconds. The bloom will ensure even water dispersion and a great cup of coffee.
    8. Continue to pour delicately into the center of the ground, slowly spiraling outward but avoid pouring down the sides of the filters. Your pour rate should be such that the entire brewing process takes two and a half to three minutes. In the end, you should end up with about 12 ounces of coffee.

FRENCH PRESS BREW GUIDE

Using a French press produces a dense and heavy-bodied cup of coffee. This is largely the result of not requiring a paper filter to strain out the ground coffee. If brewed incorrectly, the resulting cup can be bitter and chalky. By following the guide below, we believe you can achieve a pure cup of delicious coffee.

  • What you'll need:

    • Coffee
    • French Press
    • Adjustable Coffee Grinder
    • Water Kettle
    • Filtered Water
    • Timer

  • Brewing directions:

    1. Bring enough water to boil to fill your French press. For your standard 17-oz press, you’ll need about 14 fluid ounces
    2. While the water is heating, grind your coffee. French press coffee calls for a coarse, even grind. We recommend starting with a ratio of 1:10 coffee to water. Add your ground coffee into a clean French press.
    3. Gently pour water over your grounds. Pour twice the amount of water that you have coffee. Gently stir the grounds with a wooden paddle or chopstick and let the coffee bloom for around 30 seconds.
    4. After your grounds have bloomed it’s time to add the rest of your water. Place the pot’s lid gently on top of the grounds but do not plunge yet. Let the coffee steep for four minutes. Be exact.
    5. Press the plunger down to filter the grounds. The plunger should meet with some resistance, resulting in the exertion of pressure equal to 15 – 20 lbs.
    6. When you have finished pressing, serve immediately and enjoy. No beret required.

    *Note: Letting the coffee sit in the French press beyond pressing allows for continued contact with the ground and results in over-extracted coffee.

AUTO DRIP BREW GUIDE

Arguably, this is the brewing method that people are most familiar with. Where so many fall short in this preparation is a lack of attention to the quality/freshness of the coffee and accuracy of measurements. Grinding your coffee immediately before use and using filtered water during brewing can drastically improve the quality of coffee your auto drip machine produces.

  • What you'll need:

    • Coffee
    • Automatic Drip Coffee Maker
    • Paper filters (follow recommendation of your specific machine)
    • Adjustable Coffee Grinder
    • Filtered Water

  • Brewing directions:

    1. Pour water into your coffee maker’s reservoir.
    2. Weigh out your whole bean coffee and grind it according to the filter type you are using. For flat-bottom filters, grind on a medium setting. For cone shaped filters, adjust the grind to a slightly coarser setting.
    3. Insert the filter into the brew basket and pour your ground coffee into the filter. Return the basket to it’s position for brewing.
    4. Begin brew cycle.
    5. Allow brew cycle to finish, then immediately discard the coffee grounds. If you leave the filter in the basket after brewing is complete, coffee will continue to drip slowly through the grounds, which can turn your coffee bitter.

    Measurements:

    • 24 oz Water  – 44 grams (6 – 9 Tbsp) Coffee
    • 36 oz Water – 66 grams (9 – 13 Tbsp) Coffee
    • 48 oz Water – 88 grams (13 – 17 Tbsp) Coffee
    • 60 oz Water – 110 grams (15 – 20 Tbsp) Coffee

CLEVER DRIPPER BREW GUIDE

  • What you'll need:

    • Coffee
    • Clever Coffee Dripper
    • #4 Paper Filter
    • Filtered Water
    • Water Kettle
    • Scale
    • Timer

  • Brewing directions:

    1. Begin heating water
    2. Fold paper filter along bonded seams and insert into the Clever brewer. Fill with hot water to rinse the paper filter, then release the water from the device by setting the dripper atop a mug. This preheats both your mug and the dripper and ensures that any paper flavors are flushed out before the coffee is brewed. Remove the Clever from atop the mug and discard your rinse water.
    3. Measure out 20 grams of coffee. Grind the coffee to a medium-coarse consistency. Add the freshly ground coffee to the Clever and ensure that it is laying in an even bed.
    4. Set a timer for four minutes.
    5. Using water that is hot, but not boiling (200 degrees Fahrenheit), fill the Clever device by gently pouring in 10 liquid ounces of water over the grounds. Make sure the coffee is fully saturated before starting the timer.
    6. After about 30 seconds, you’ll notice that a layer of grounds has formed a “crust” on the surface of the brew. Gently stir these grounds into the rest of the brew. Cover your Clever with its lid while the coffee brews.
    7. Thirty seconds before your brew timer is set to finish, set the Clever Dripper on top of your mug. (Make sure it’s larger than 10 oz so it doesn’t overflow). This will open the stop plug and allow the brew to drain through the filter and into your drinking vessel. This takes about 30 seconds
    8. Enjoy!